Description
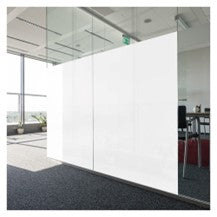
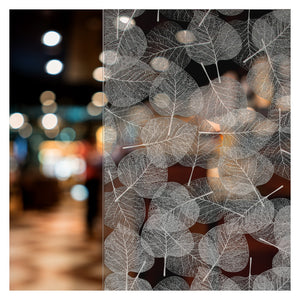
Buy Decorative Film's High Performance Sun Control Window Nichrome Window Films are more effective in rejecting heat than traditional dyed films. Since these films are sputtered and contain no dye, they boast great efficiency in that they will not fade throughout their use. The alloy of nickel and chromium contained in the Nichrome window films provide a great barrier against solar energy by capturing and dispersing heat throughout the surface it is applied to. These window films are ideal for home/office windows that receive a great amount of sunlight. Available in 20% (Dark), 35% (Lightly Dark), 60% (Light), and 70% (Very Light), the Nichrome series is excellent for blocking heat from the sun and providing an effective sun control.
- Available in 20% (Dark), 35% (Medium), 60% (Light), 70% (Very Light)
- Easy to install, easy to remove without damaging the glass
- Moderate Reflectivity
- Effective Sun Control
- Excellent Heat Rejection
- 99% UV Rejection
1. Before You Begin Applying: Use the spray bottle with a soap solution to fully wet the window to the point where drops of soapy water run down the glass. Next, scrape off all of the dirt that might be present using a razor of some sort that won't scratch the glass. Then, use the squeegee to wipe down the window and remove the remaining dirt. Remember to use A LOT of soap water as it is important that the window remains completely wet during the window film installation process. Don't try to install the film in direct sunlight or in a hot environment as your soap solution will dry up quickly.
2. Measure and Cut Film: If you aren't experienced with applying the window film, it would be a good idea to start with smaller windows first. Measure the width & height of the glass surface and determine where you'd like the film, keeping about a 1/2" margin of the film around the window frame. The cut film should be bigger than the edges of your frame.
3. Remove Backing/Liner: Window films have 2 components: the film and the clear liner (the backing). When removing the liner, first peel away its corner (preferably the top right or left corners) by attaching two pieces of tape firmly to the front and back sides of the film's corner. Then, pull them apart to separate a little portion of the liner from the film but don't remove the liner completely.
4. Wet Both Sides of Film and Window: As mentioned above, it is important to keep both the window film and the window completely wet with the soap solution during the installation process.
5. Apply Film on Glass: Place the adhesive side of the film gently on the glass. Cling the peeled corners of the film onto the respective corners of the window and adjust the film so that the edges line up. While you remove the rest of the liner, make sure that the parts of the film that are already on the window stay in its place (it might be better to have someone hold the film while removing the liner). As you carefully peel the liner away, generously spray the liquid solution on the exposed sticky side (the side that's in contact with the window) of the film. After the liner is removed, align all corners and edges so that the shape of the film completely matches that of the window. If, at any point, the film is stuck and not moving, you need to peel it off a little and add more soap water to the window.
6. Final Touches: Now using the plastic squeegee, start at the top of the window and work your way down. When you squeegee out the water particles and the air bubbles, start at the center of the window and move out towards the edges. Spraying water on the film's surface will make the process much easier. Large bubbles can be removed with the squeegee, but keep in mind that small ones smaller than 1/8" will disappear.
Download Installation GuidePayment & Security
Your payment information is processed securely. We do not store credit card details nor have access to your credit card information.